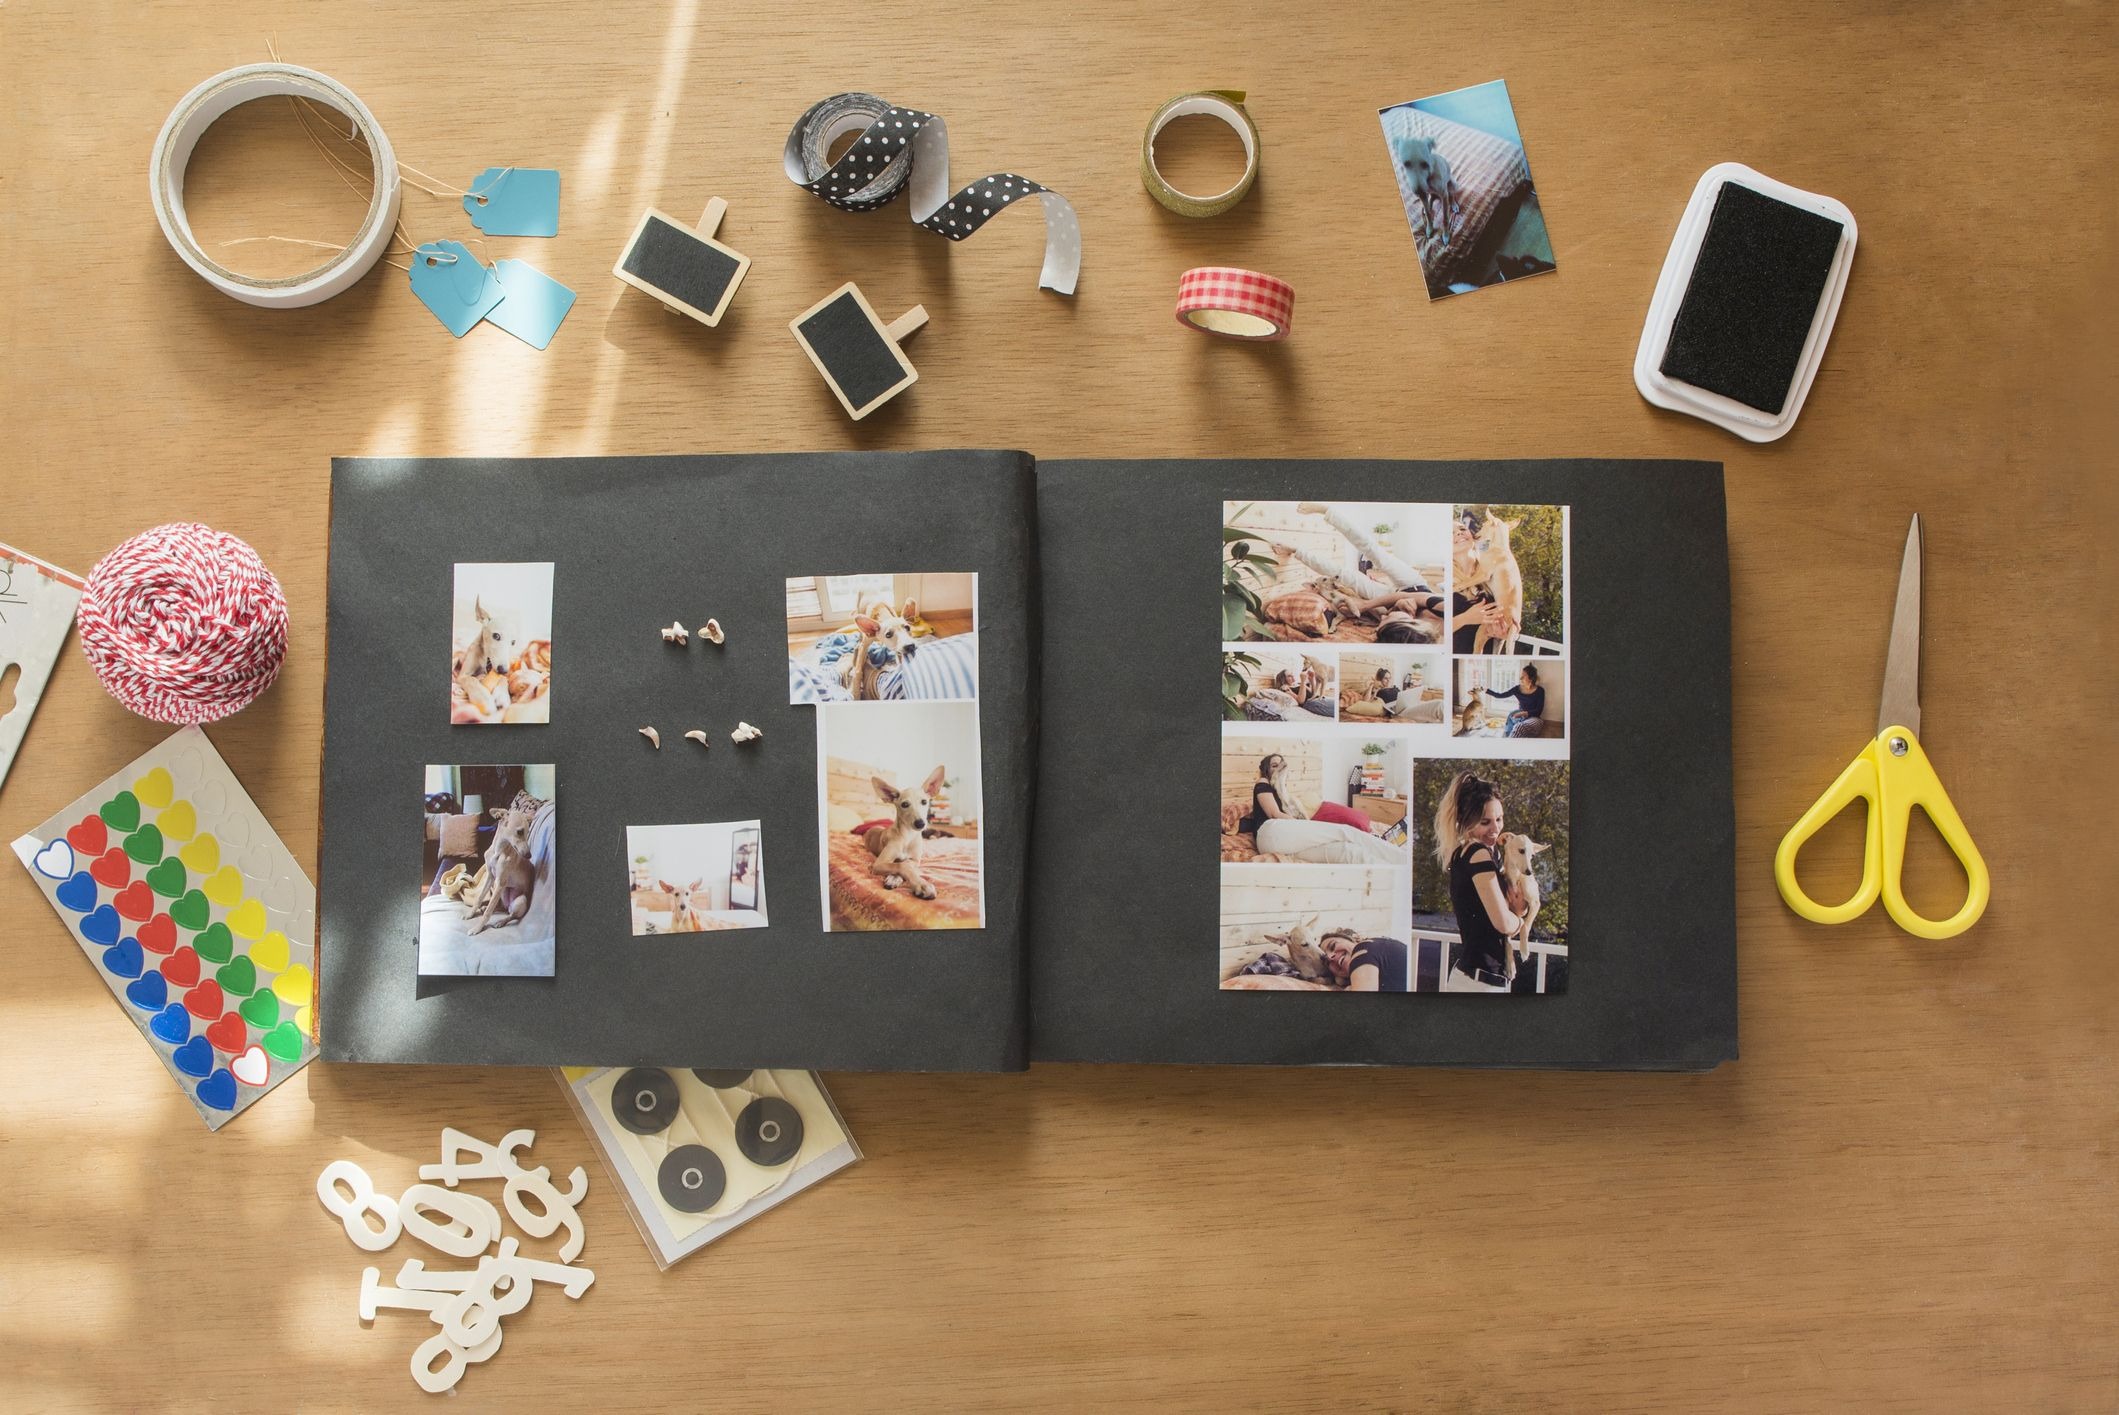
Scrapbooking has always been a personal way to hold on to special moments. Instead of letting photos stay hidden in digital folders, a scrapbook lets you craft a story, page by page, with a mix of photos, textures, and notes.
The beauty of it lies in how personal it becomes, and with a bit of creativity, you can make each book stand out as uniquely as the memories it holds.
1. Adding Layers with Washi Tape and Borders
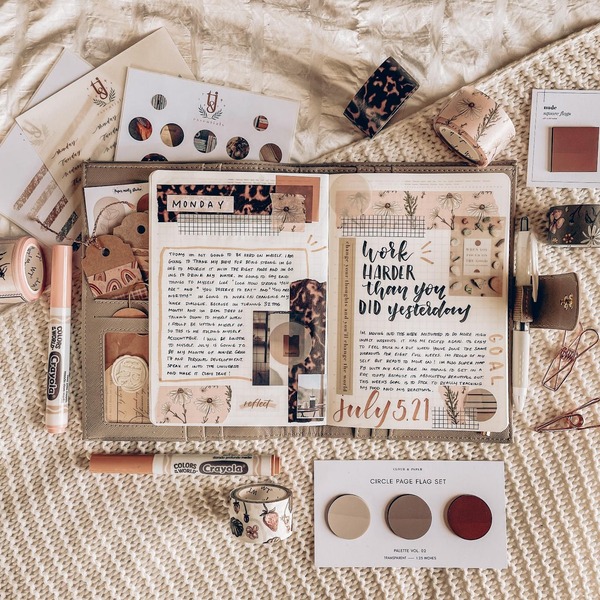
One of the easiest ways to elevate scrapbook pages is by using decorative borders. Instead of gluing photos flat on paper, surround them with strips of patterned washi tape or layered borders to create frames that stand out.
Washi tape, in particular, comes in endless designs and colors, which means you can match themes – from vintage family albums to modern travel scrapbooks.
If you want a cohesive look, try pairing matching sets of borders throughout the scrapbook. For instance, if you’re building a travel memory book, alternating between map-patterned tape and solid colors helps tie the whole theme together.
The layering doesn’t stop at borders – stacking paper layers behind a photo gives dimension and makes the page more visually engaging.
2. Scrapbook Pockets for Keepsakes
Sometimes memories aren’t just photos. They’re train tickets, postcards, handwritten notes, or a receipt from a dinner that turned into an unforgettable night. Instead of scattering these keepsakes, you can create scrapbook pockets.
Cut out envelopes from patterned paper and glue them onto pages. Use small pouches or even leftover fabric to make pockets that hold items safely.
Adding a label above the pocket makes it easy to remember what’s inside – like “Paris 2023 Train Tickets” or “Birthday Notes from Friends.”
The charm of pockets is that they add interaction. Flipping through a scrapbook becomes more than just looking at pictures; it’s reaching into a pocket and pulling out something tangible that connects you back to that exact moment.
Tips for scrapbook pockets:
- Use clear vellum if you want items to stay visible.
- Reinforce pocket edges with washi tape for durability.
- Add a pull tab (ribbon or string) to make smaller keepsakes easier to grab.
3. Mixing Photos with Handwritten Stories
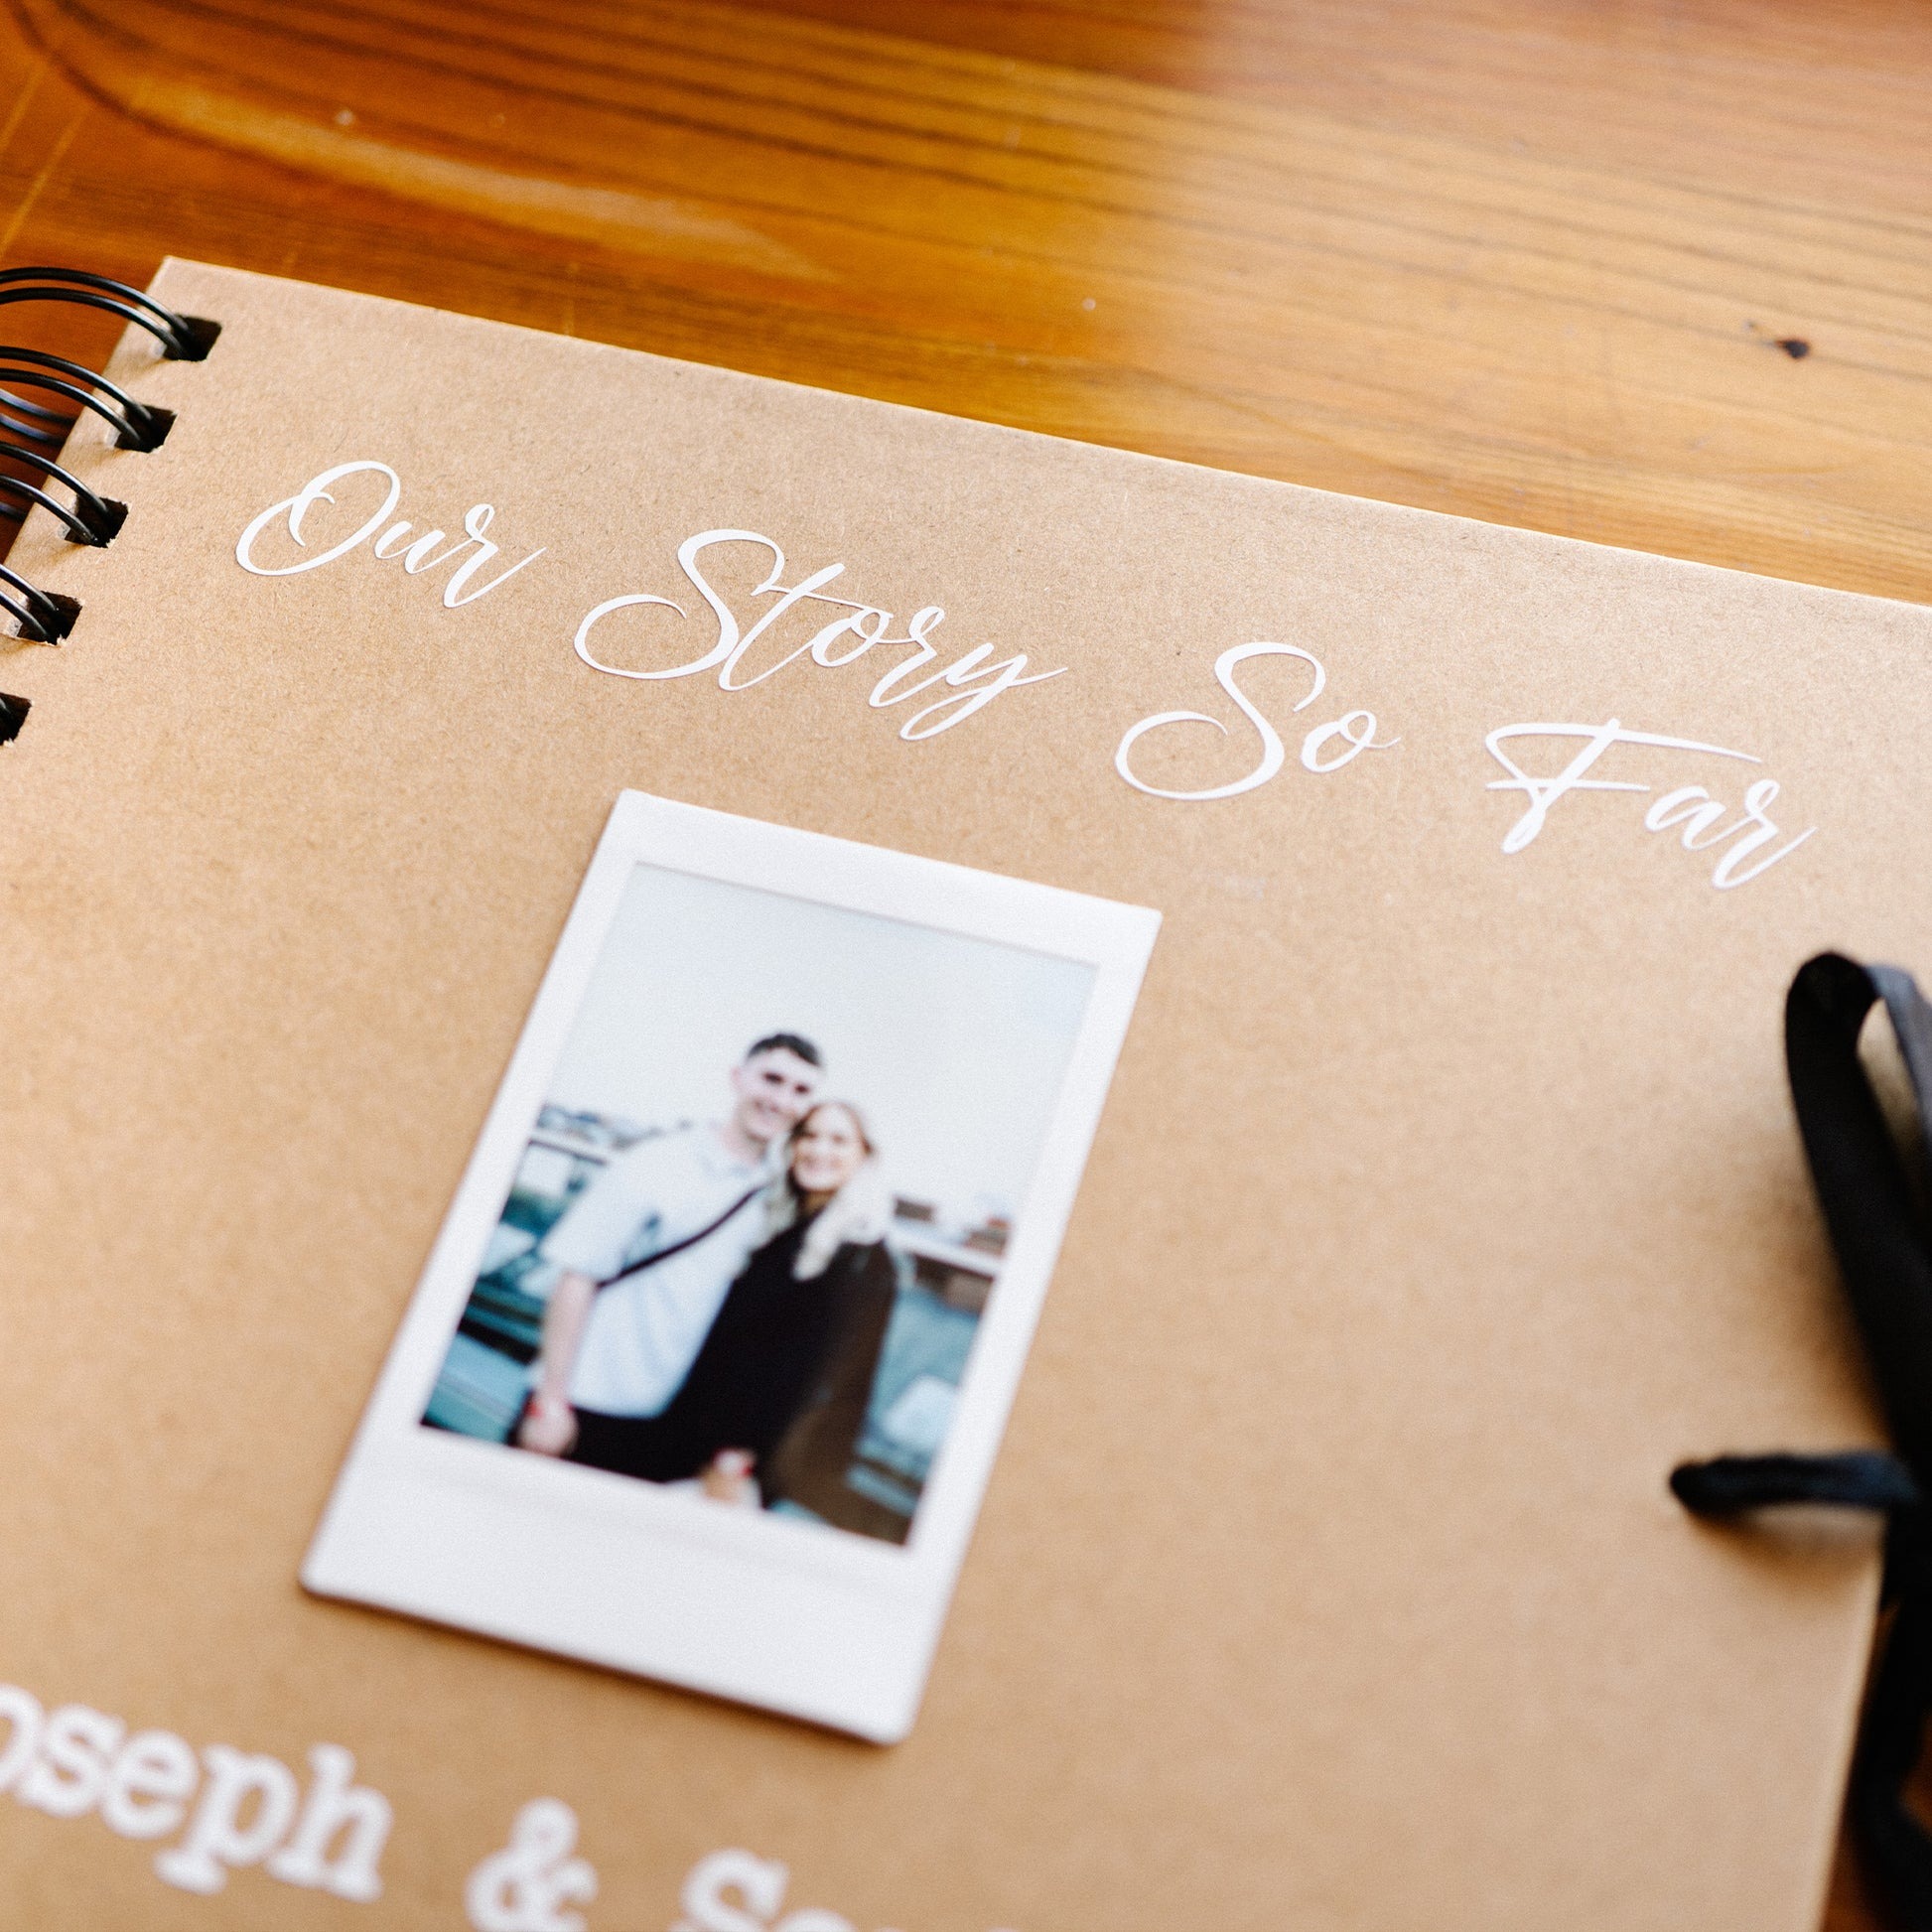
A scrapbook without words can feel incomplete. Even if photos capture the visuals, writing adds context.
Think about it: a picture of a birthday cake is nice, but a short handwritten story about the funny thing that happened while baking the cake makes the memory feel alive.
Handwriting also adds authenticity. In a world of typed fonts, your handwriting becomes part of the scrapbook’s character.
If you’re not confident in your handwriting, don’t worry. Use stencils, experiment with calligraphy pens, or alternate between typed inserts and small handwritten notes.
Try these approaches to blend writing into your scrapbook:
- Write directly on the page margins next to photos.
- Use journaling cards that can be slipped into pockets.
- Create quote bubbles to highlight something someone said.
The goal is not perfection, but personality. Years from now, your handwriting will tell its own story, making the scrapbook even more valuable.
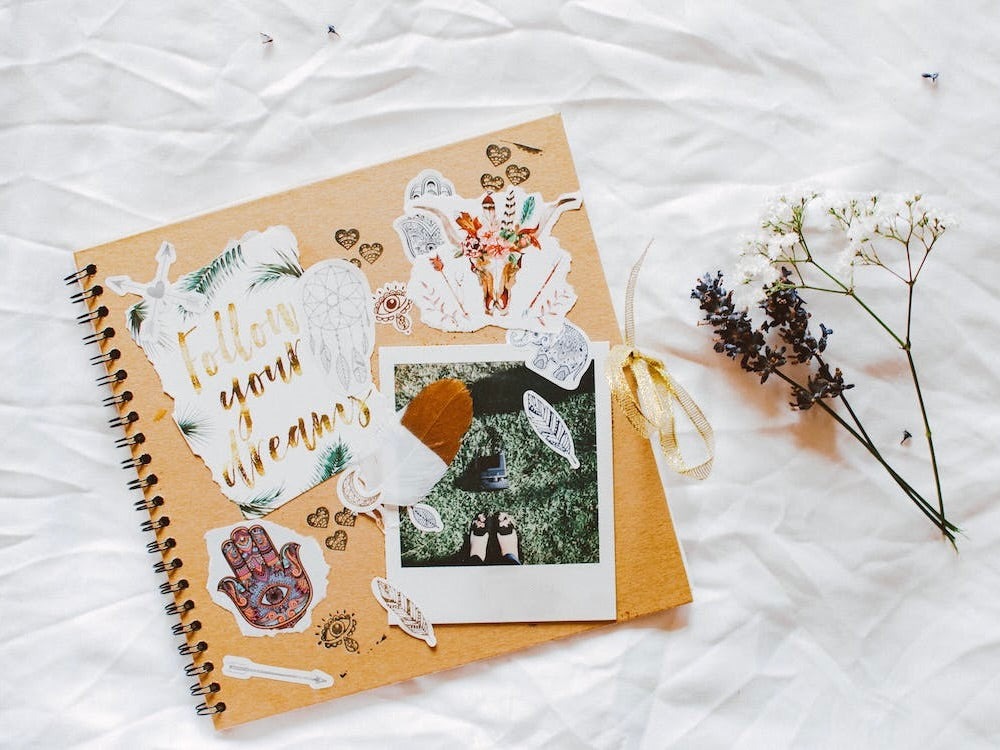
4. Nature-Inspired Pages with Pressed Flowers and Leaves
Adding real elements from nature brings a scrapbook to life. Pressed flowers, dried leaves, or even tiny seashells collected from trips can transform a flat page into something textured and meaningful.
Imagine opening a scrapbook of summer vacation and finding a pressed wildflower from the hike you loved, or a leaf from the park where you first met someone important.
The process is simple:
- Place flowers or leaves between the pages of a heavy book.
- Add wax paper to protect the pages from moisture.
- Leave them pressed for one to two weeks until they are fully dried.
Once ready, secure them with clear adhesive or place them inside transparent sleeves. Not only do they look beautiful, but they also bring a tactile connection to the places you’ve been.
5. Themed Layouts for Strong Storytelling
One of the most overlooked aspects of scrapbooking is layout consistency. Instead of randomly placing photos, you can create themed sections that tell a clearer story. Think of each theme as a mini-chapter in your scrapbook.
Examples of themed layouts include:
- Travel Adventures: Combine photos, maps, boarding passes, and journal entries.
- Family Celebrations: Dedicate sections to birthdays, graduations, or holidays.
- Seasonal Chapters: Group memories by spring, summer, fall, and winter.
A good trick is to use repeating elements to connect each section. For instance, a travel scrapbook might always use map-patterned tape for borders, while a family scrapbook could use color themes tied to events (red and green for Christmas, pastels for Easter).
Themed layouts not only make pages visually attractive but also help readers feel like they’re moving through a well-curated story, rather than flipping through scattered memories.
Making Your Memories Truly Stand Out
Scrapbooks aren’t just photo albums; they’re storytelling tools. With a little creativity, everyday supplies, and thoughtful layouts, you can transform plain pages into keepsakes filled with texture, warmth, and meaning.
Whether you experiment with washi tape borders, interactive pockets, handwritten notes, pressed flowers, or themed sections, the result is always personal and unique.
The best part is that scrapbooking doesn’t demand perfection. It’s about capturing memories in a way that feels authentic to you. Each page you make becomes a small time capsule that you, your family, or friends can revisit years from now.